Create your own wild yeast starter for delicious homemade sourdough bread. Follow this easy recipe to start baking with wild yeast! No discard method option.

Table of Contents
What is Wild Yeast Starter?
A wild yeast starter made with yeast water is a variation of a traditional sourdough starter that incorporates yeast cultivated from fruits, yogurt or grains into the fermentation process. Instead of relying solely on wild yeast from the surrounding environment, this method harnesses the natural yeast present on the surface of fruits, such as carrots, apples, or raisins.
To create a wild yeast starter with fruit yeast water, fruit is soaked in water to encourage yeast colonization. As the fruit ferments, wild yeast from its surface is released into the water, creating a naturally leavened liquid. This yeast-rich water is then used as the liquid component when mixing flour to create the starter.
The process typically involves mixing the fruit yeast water with flour and allowing it to ferment over several days, during which the wild yeast present in the fruit water colonizes the flour mixture, initiating fermentation and leavening. Like traditional sourdough starters, wild yeast starters with fruit yeast water require regular feeding and maintenance to keep the yeast culture active and healthy.
This method can introduce unique flavours and characteristics to the sourdough starter, influenced by the type of fruit used and the specific strains of yeast present on its surface.
Ingredients
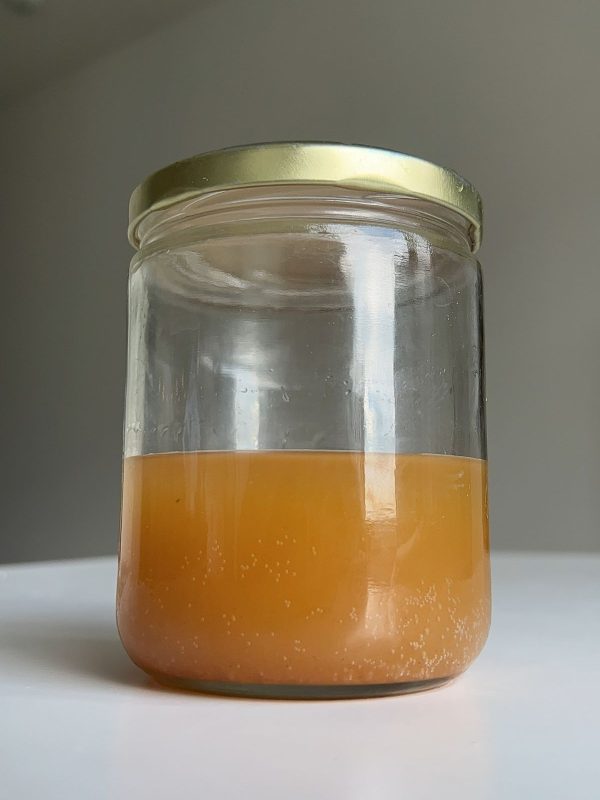
- Fruit yeast water: here is my recipe for raisin yeast water that I use.
- Flour: I recommend making the starter with bread flour and feeding in small amounts with bread flour, whole wheat flour or rye flour.
- Water: Use filtered water.
How to Make Wild Yeast Starter

- Sterilize: Be sure to clean your jars with boiling hot water before starting.
- Day 1: Mix equal parts raisin yeast liquid and flour. Cover and let it sit at room temperature until it doubles in size. In warmer temperatures around 30°C, this typically takes about 6 hours, while in colder conditions around 20°C, it may need 12 to 24 hours. Once doubled, refrigerate for 6 to 12 hours.
- Day 2: Add the same amount of water or raisin yeast water and flour, and mix well. Keep at room temperature and then once double in size, which will take less time than the initial rise—approximately 4 hours in summer and 8 to 12 hours in winter. Refrigerate for another 6 to 12 hours after doubling.
- Day 3: Add the same amount of water or raisin yeast water and flour as day 1 and mix well. Use a rubber band to mark the highest point, keep at room temperature and then once double in size, which will happen more quickly than before—around 2 hours in summer and 4 to 6 hours in winter. After rising, refrigerate for 6 to 12 hours before using it to bake bread.
Lisa’s Recipe Tips
- Ensure to thoroughly mix the entire contents of the bottle of raisin yeast liquid before incorporating it into the starter. The sediment settled at the bottle’s bottom harbors a significant amount of yeast, crucial for facilitating dough rise.
- Exercise caution to prevent over-fermentation of the starter, which can impart a sour taste to the bread. The starter will ferment more rapidly with each successive addition of flour. If fermentation is anticipated to peak while you’re away or asleep, refrigerate it before it doubles in size, then return it to room temperature after some time and allow it to resume doubling. Fermentation will persist at a slower pace while it rests in the refrigerator.
- On Day 2 and 3 if you notice that the activity or low or slow, use raisin yeast water instead of water. This will depend on the type of raisins used, environment and if the jar and utensils were properly sterilized.
How to Store
Keep the finished starter in the refrigerator. Every three days, mix equal parts water and flour, then allow it to sit at room temperature for a period. Once bubbles start to form, refrigerate it (a process called passivation).
If the starter fails to revive even after refreshing, add a small quantity of dry yeast when preparing bread dough, or incorporate it into sweet recipes. Should you detect any abnormalities in the starter, such as a sour odor, discolouration, or excessive liquidity, discard it.
A raisin yeast starter is created by fermenting raisins in water to cultivate wild yeast, often resulting in a sweeter and more fruity flavor profile. A traditional sourdough starter is made by mixing flour and water to capture wild yeast and bacteria from the environment, developing a more tangy and complex flavor over time. The key difference is the source of yeast: raisin yeast starter relies on the yeast from raisins, while traditional sourdough starter uses yeast naturally present in flour and the surrounding environment.
A raisin yeast starter can be used indefinitely as long as it is properly maintained. With regular feedings of flour and water, similar to a traditional sourdough starter, it can continue to produce the necessary yeast and bacteria for baking. The key is to keep the starter healthy by feeding it consistently, ensuring it remains active and viable for continuous use.
You can definitely maintain a raisin yeast starter, not just use it once. After the initial activation with raisin water, you treat it like a traditional sourdough starter by regularly feeding it with flour and water. With consistent feedings, your raisin yeast starter can be kept active and used for baking repeatedly, just like any other sourdough starter.
There are several ways you can maintain raisin yeast water starter such as the traditional way with discard and a no-discard method.
To maintain the starter, reserve 15-45 grams and feed it with equal amounts of water and flour by weight. For example, if you reserve 15 grams of starter, mix in 15 grams of water and 15 grams of flour. Mix well, cover with a lid and keep refrigerated. The slow active yeast will stay healthy at a low temperature.
Try to feed your starter once a week to keep it healthy. If you go longer than that, no worries! Just strengthen it before you plan to bake bread.
Feed your starter with a starter 1: water 1: flour 1 ratio by weight and keep it at room temperature
Enjoy!! If you make this Wild Yeast Starter recipe, let me know! Leave a comment, rating and if you decide to share it on socials, tag me on instagram @Okonomikitchen. I’d love to hear from you 😁!
Print
Wild Yeast Starter (No Discard Sourdough)
- Total Time: 72 hours
- Yield: 300 grams 1x
Description
Create your own wild yeast starter for delicious homemade sourdough bread. Follow this easy recipe to start baking with wild yeast!
Ingredients
- 50 g raisin yeast water (or any wild /fruit yeast water)
- 150 g bread flour or whole wheat flour
- 100 g raisin yeast water or water
Instructions
- Sterilize: Bring a pot of water to a boil and add add the jar, lid and any mixing utensils.
- Day 1: Add 50 grams of raisin yeast water and 50 grams of flour, and mix well. Cover and let it sit at room temperature until it doubles in size, marking the container with a rubber band or tape to track its expansion. In warmer temperatures around 30°C, this typically takes about 6 hours, while in colder conditions around 20°C, it may need 12 to 24 hours. Once doubled, refrigerate for 6 to 12 hours.
- Day 2: Add 50 grams of water or raisin yeast water and 50 grams of flour, and mix well. Use a rubber band to mark the highest point, keep at room temperature and then once double in size, which will take less time than the initial rise—approximately 4 hours in summer and 8 to 12 hours in winter. Refrigerate for another 6 to 12 hours after doubling. If the dough rises slowly or minimally during the first rise, opt for more raisin yeast liquid; otherwise, stick with water.
- Day 3: Add 50 grams of water or raisin yeast water and 50 grams of flour, and mix well. Use a rubber band to mark the highest point, keep at room temperature and then once double in size, which will happen more quickly than before—around 2 hours in summer and 4 to 6 hours in winter. After rising, refrigerate for 6 to 12 hours before using it to bake bread.
- Refrigerate: Store the completed original seed in the refrigerator. Mix equal parts water and flour about once every three days and leave at room temperature for a while. Once bubbles appear, store in the refrigerator (feeding). Since the yeast weakens with each passing day, it is recommended to use it up after two or three feedings. Feed the starter the day before you plan to make bread.
- To maintain the starter: If you use 60 grams of the wild yeast starter, add 30 grams of the same flour and 30 grams of raisin yeast water
Notes
- If the starter is not thriving even after feeding, it means that the yeast liquid was not strong enough and may need to start over. You can add a small amount of dry yeast when making bread dough, or utilize it in sweets. If you notice any abnormalities in the starter, such as a sour smell, turning grey, or becoming runny, please discard it.
- Prep Time: 3 days